How To Use HomeCapture, HomeSphere’s Mobile App for Builders and Contractors
How Can We Help?
How To Use HomeCapture, HomeSphere’s Mobile App for Builders and Contractors
HomeCapture is here to help you capture and share information on the building products you install, whether you’re a builder or sub-contractor. And, best of all, it’s easy to use!
Download HomeCapture
Use your phone to download HomeCapture from:

Step-by-step instructions for HomeCapture
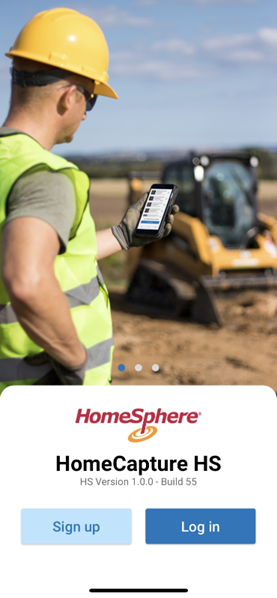
Opening the app
- Open HomeCapture. You’ll see an option to sign up or log in.
- As a first-time user, click "Sign up.” From there, you’ll be asked to enter your credentials, choose a password and let us know if you’re a builder or a subcontractor.
- Please note that your password for HomeCapture is separate from your password for your HomeSphere builder portal (if you have an account).
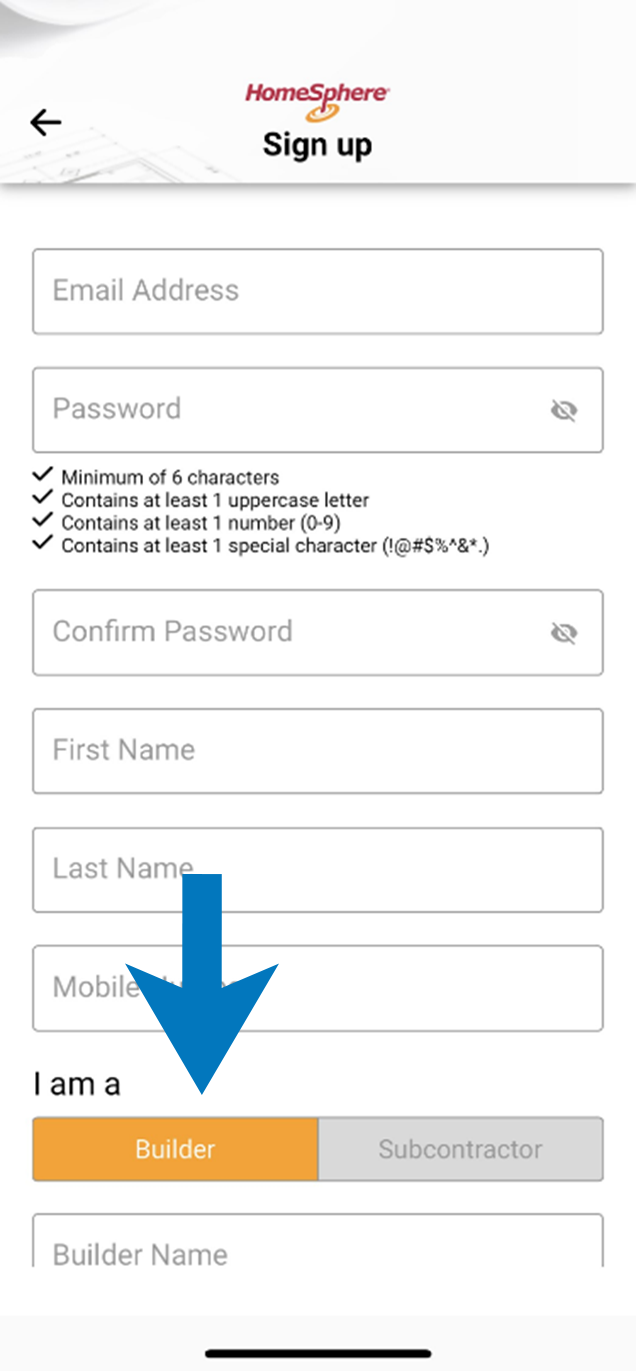
Confirming your builder or subcontractor info
- You will also be asked to select your builder from a dropdown list or enter the name of the subcontractor you work for. Note: you will not be able to change this later, so make sure you choose the correct one.
- Congrats! You’re now signed up with HomeCapture and can start capturing the products you install.
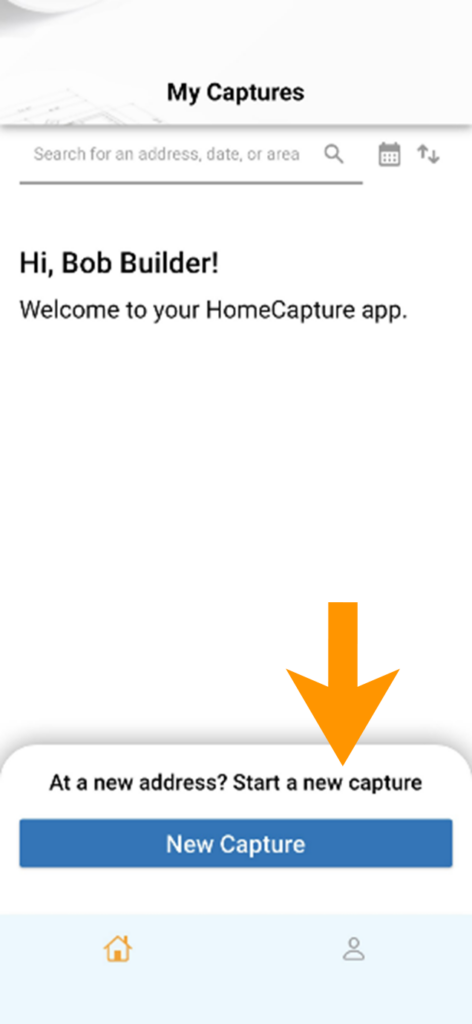
Using the app
- Now that you are signed in, you’ll see this welcome screen. To take your first capture, click “New Capture.”
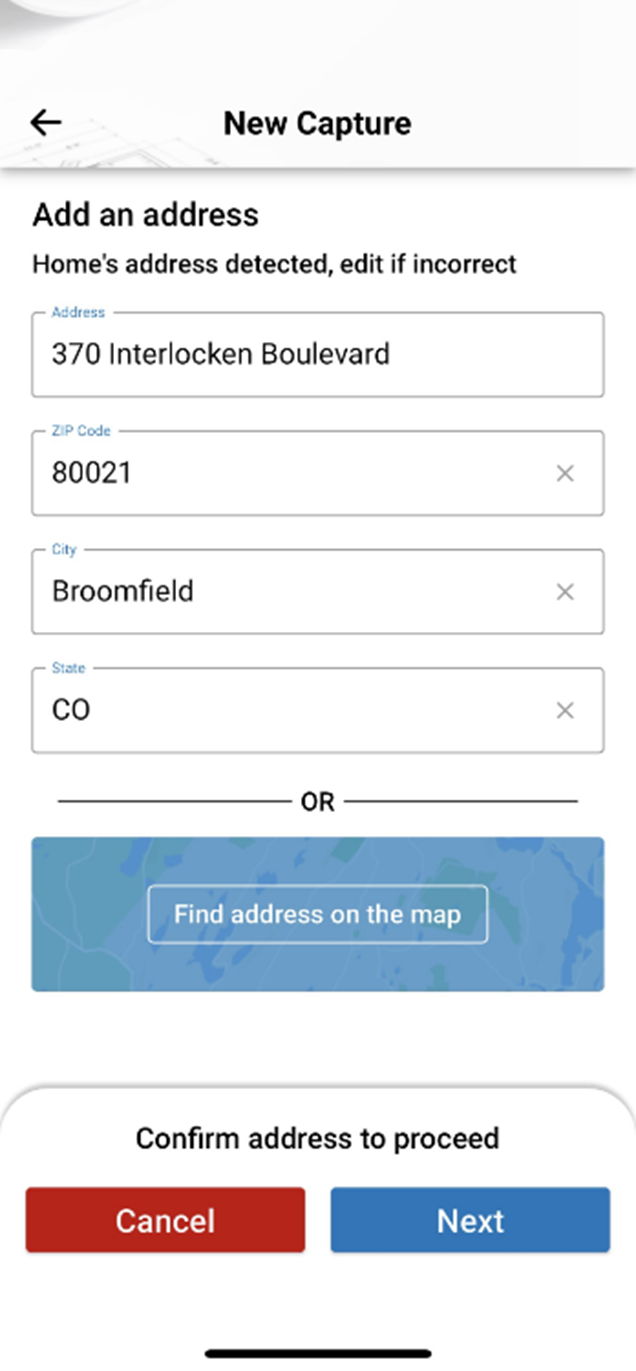
Confirming your address
- Confirm the address where the product was installed. While the address will be automatically populated, doublecheck it for accuracy and make any necessary changes. Note: It’s imperative the address is correct for product validation!
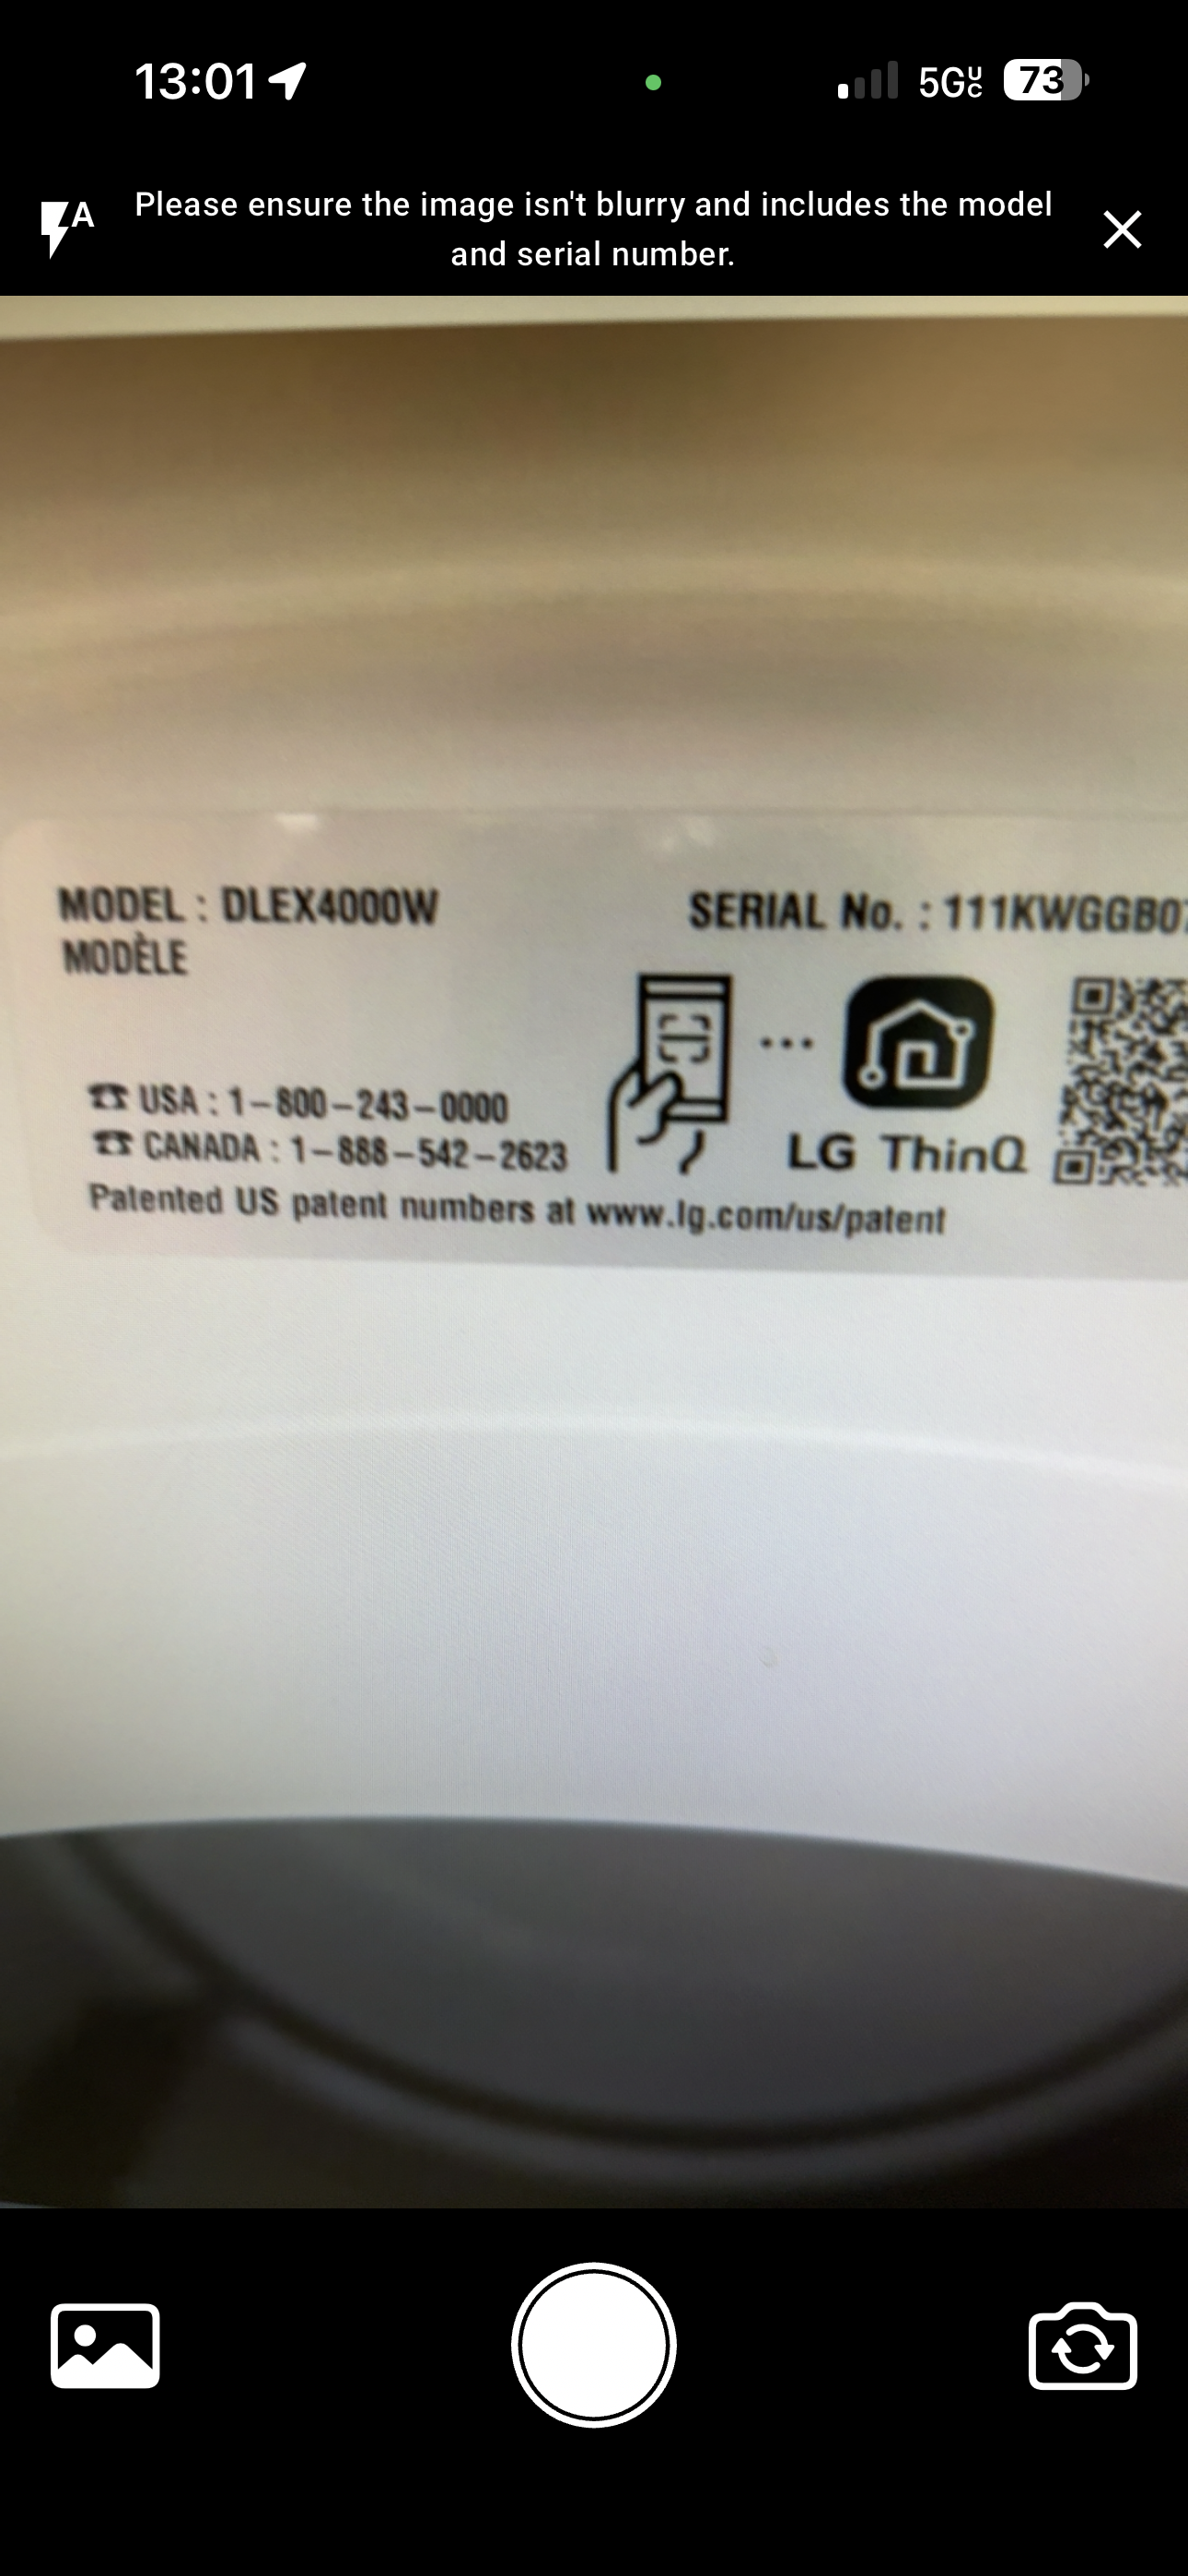
Capturing your product
- Once you’ve confirmed the address, click “Next” and take a photo of the product you installed. To accurately capture the product:
- Ensure the model and serial number (including the text that reads “Model Number” and “Serial Number”) are in focus.
- Take a photo as "straight on" as possible (not at an extreme angle) and ensure the entire label or plate is within the frame.
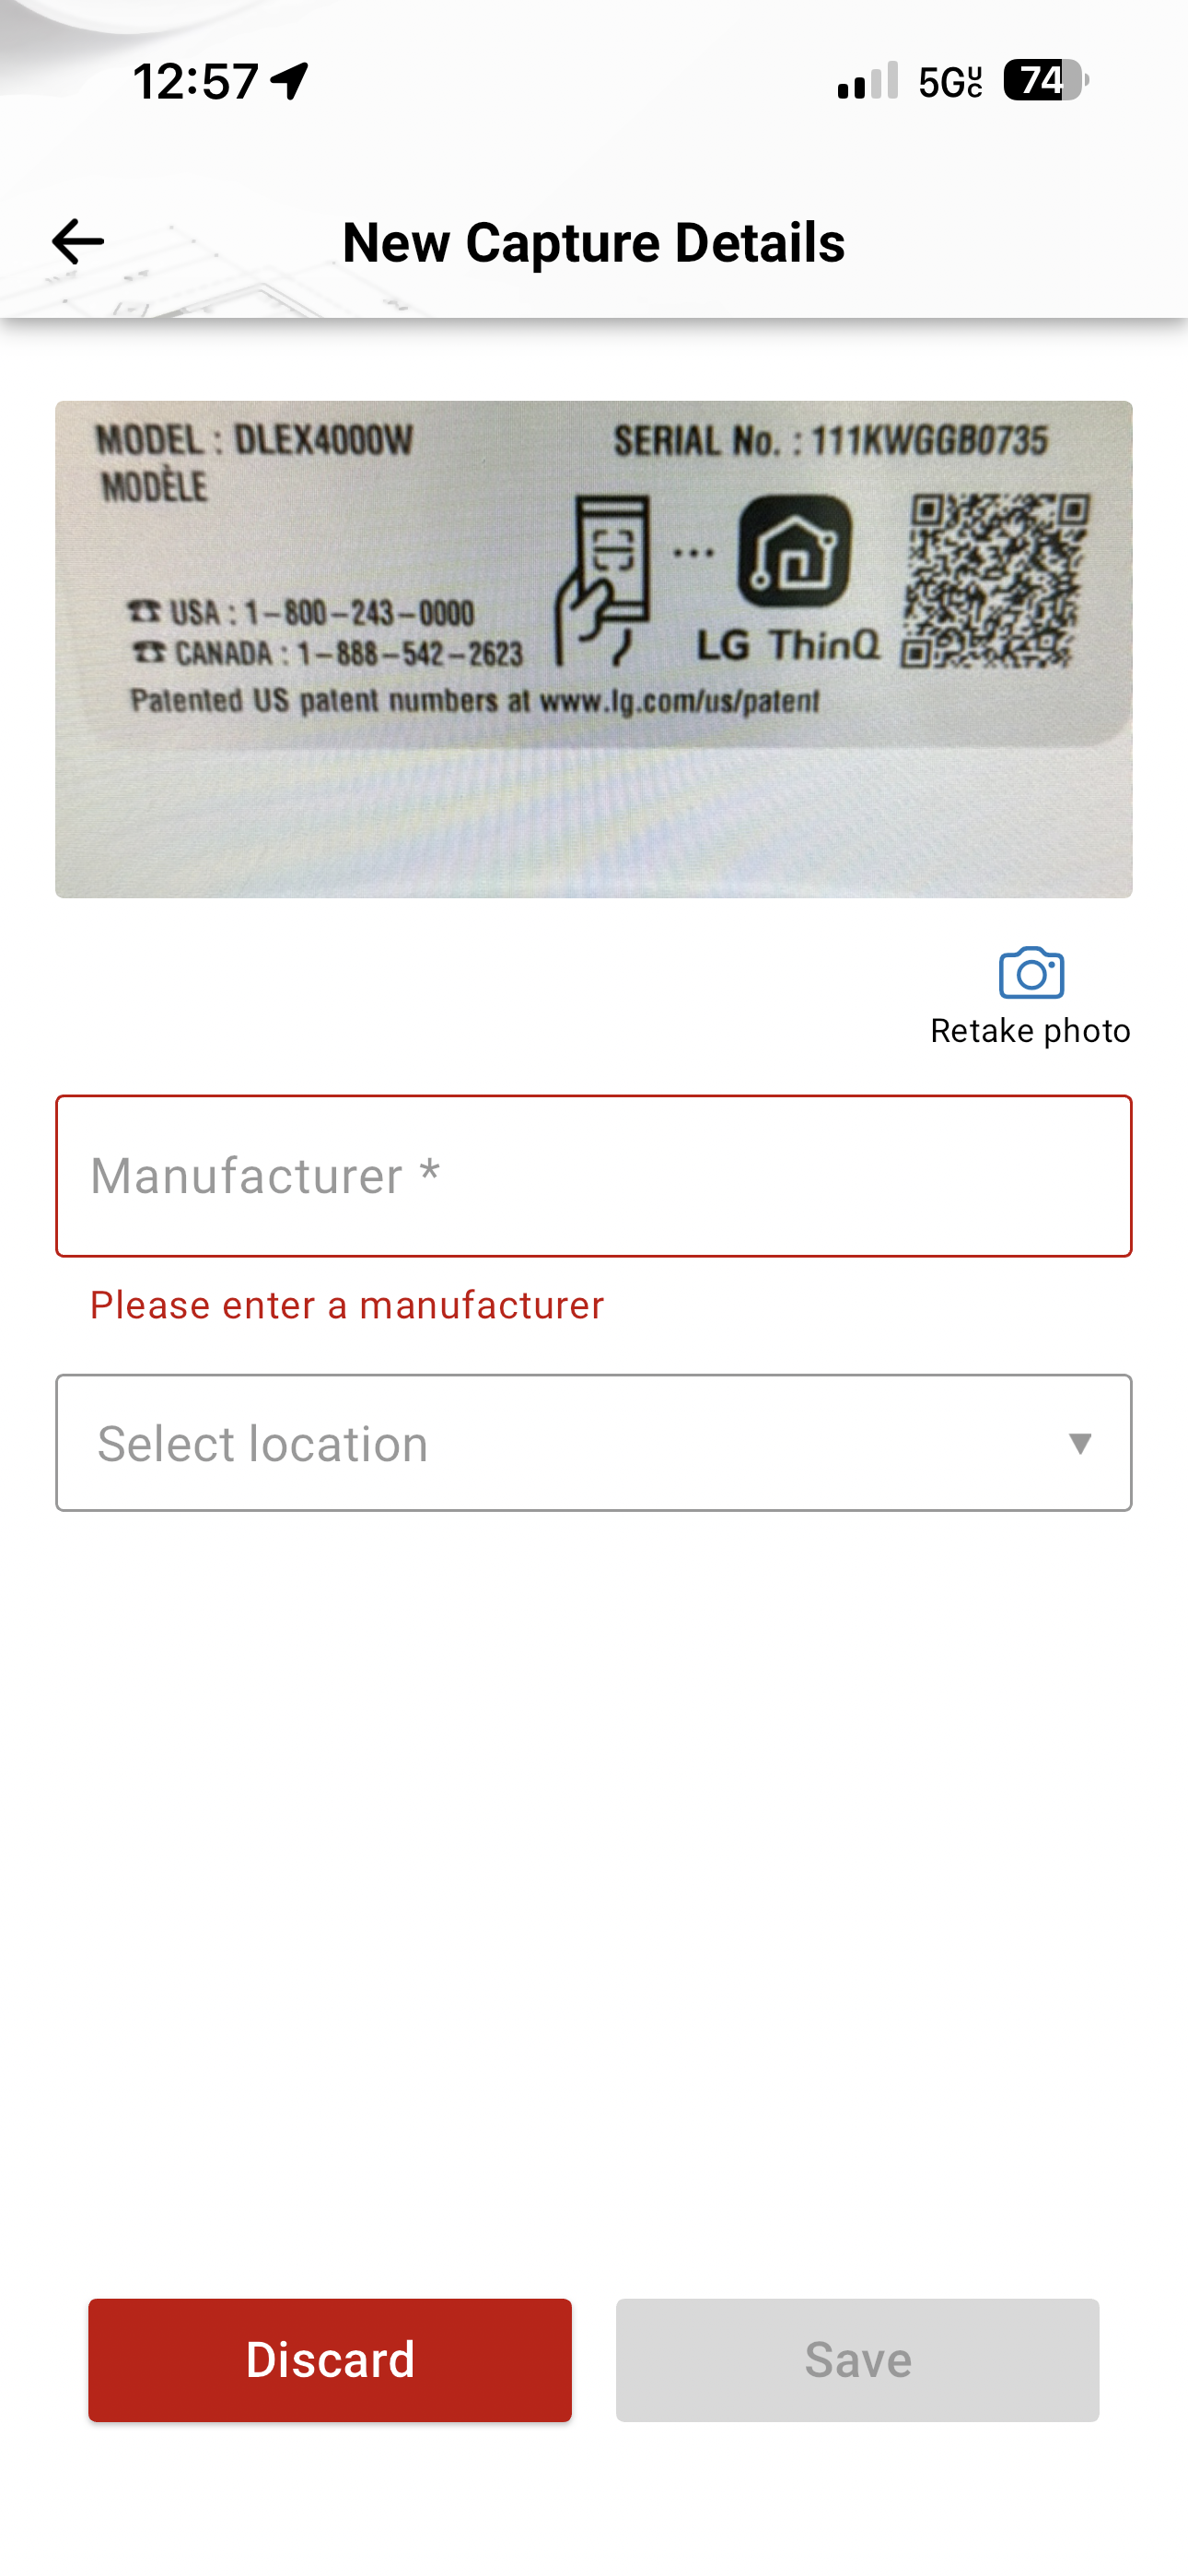
Confirming product details
- Now enter product details. Start by entering the product manufacturer from the dropdown list. If you don’t see the manufacturer in the list, choose “Other.”
- (Optional) Add the area of the home the capture was taken in (i.e., kitchen, etc.).
- You’ve made your first capture! Now hit “Save.”
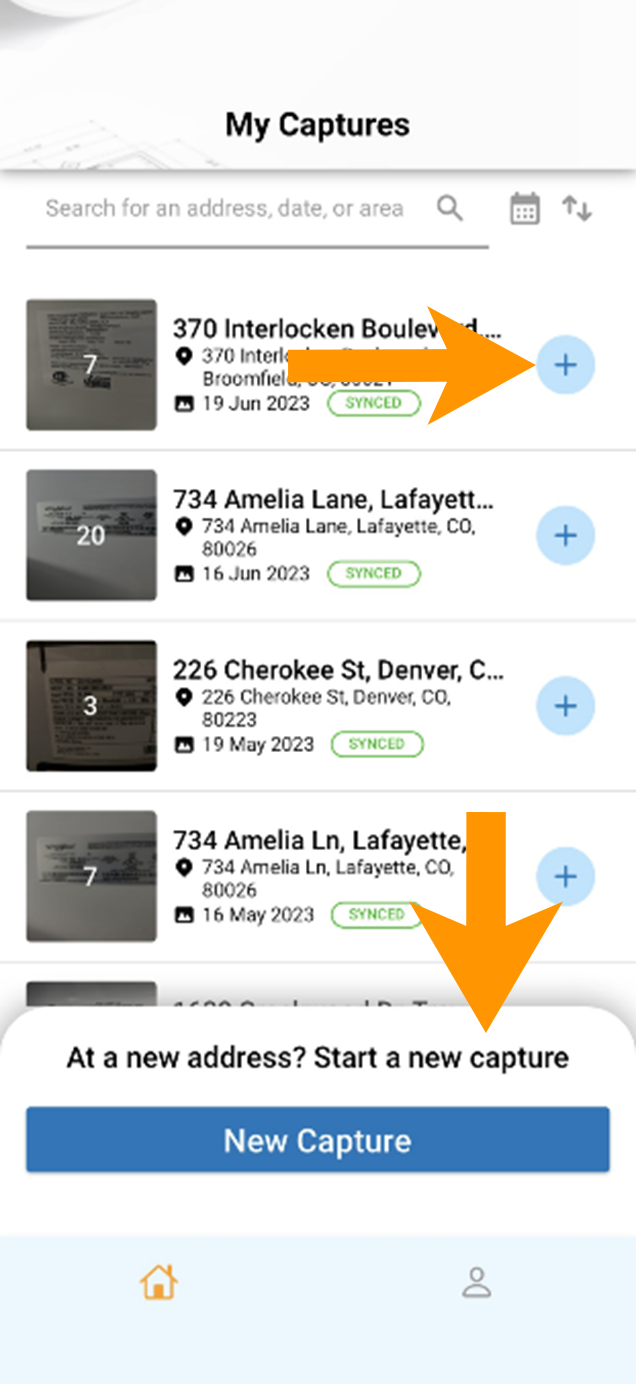
Starting a new capture
- Once you’re ready to start a new capture, you have two options:
- Select “New Capture” at the bottom of your welcome screen if you are capturing products at a new address.
- Select the plus icon next to an existing address to add more product captures at that address.
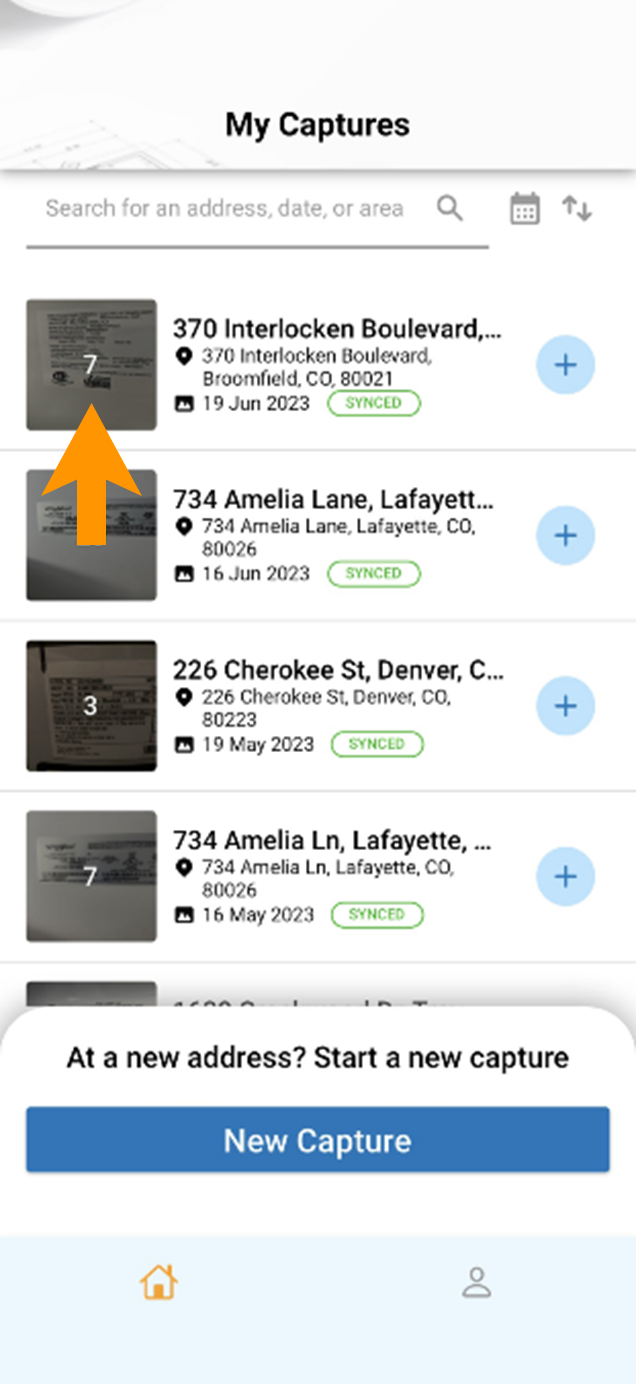
Viewing products you've already captured
- To view products you’ve captured, click on the thumbnail next to each address.
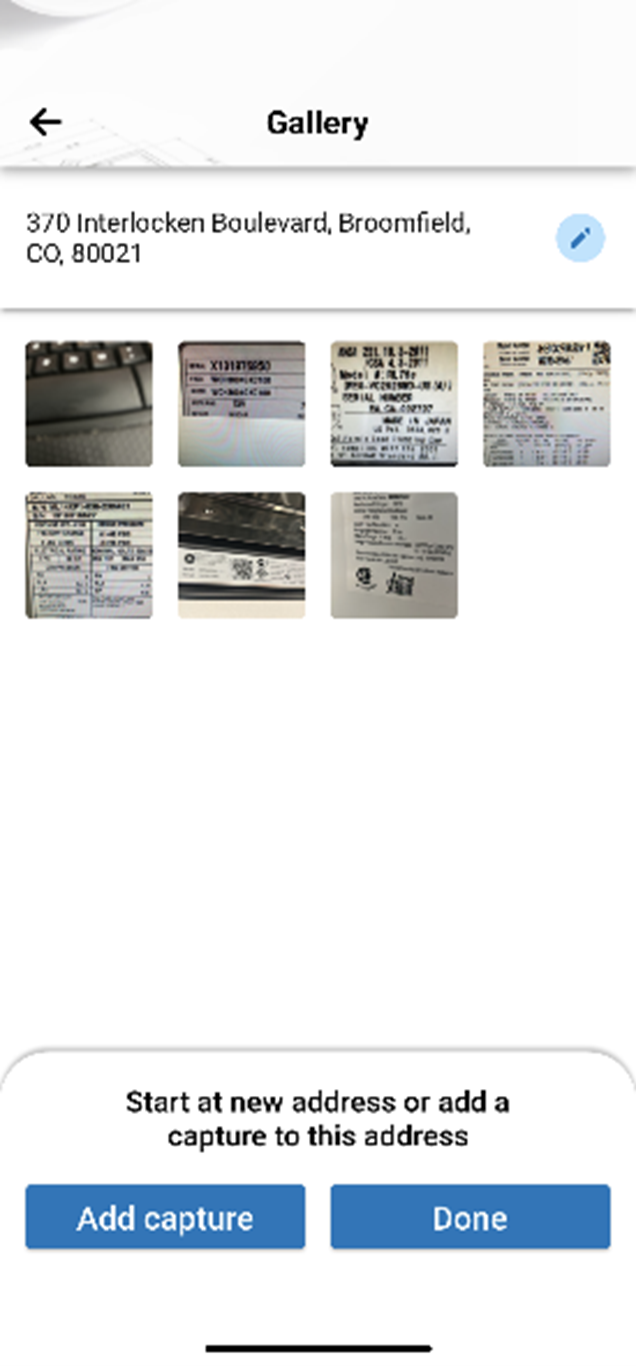
Viewing your gallery
- You’ll now see a gallery view of the products you’ve captured.
Repeat this process for every new capture you add!
Checking your data in the HomeSphere platform
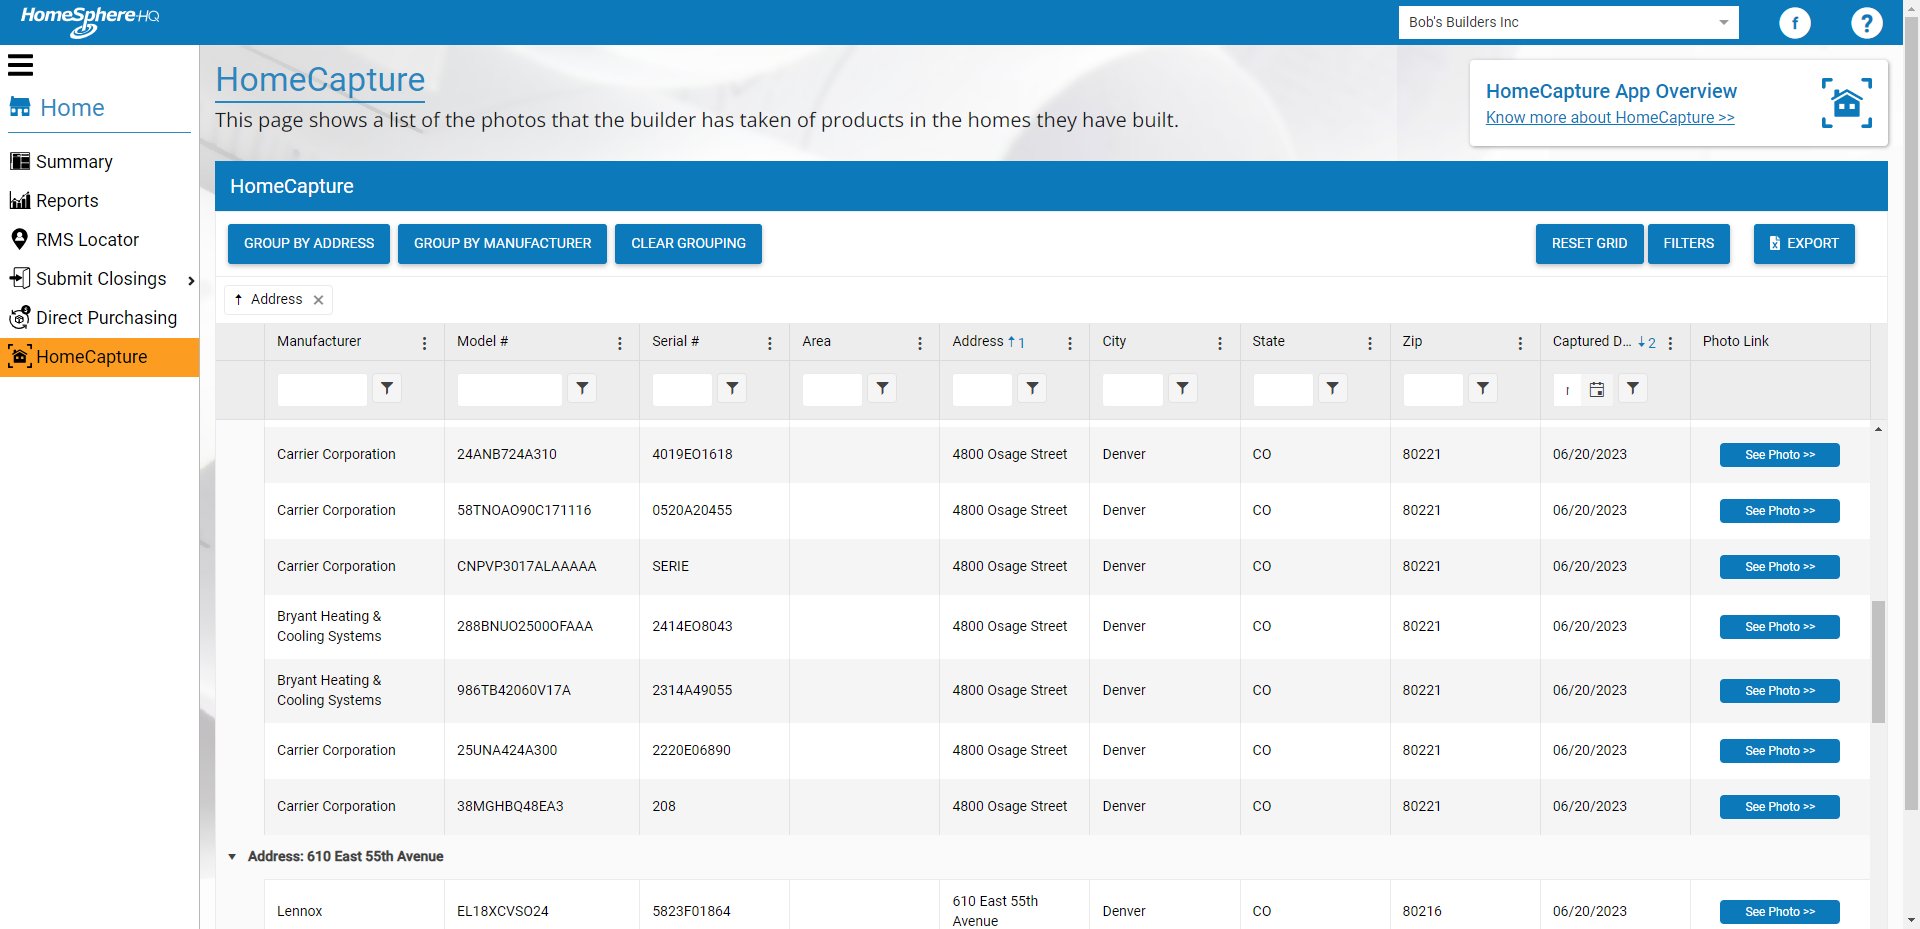
If you have access to the HomeSphere platform, you can review and sort the products you (and other contacts) have captured through HomeCapture.
- Log in to the platform.
- Navigate to HomeCapture in the lefthand sidebar.
- Group captures by address or manufacturer or a filter of your choice.
- Click “See Photo” next to any entry to view images captured at a given address.
Note: Some model and serial numbers could load incorrectly when initially synced. Any issues should be corrected within 24 hours of appearing in the HomeSphere platform.
If you have any questions on using HomeCapture or viewing the data in the HomeSphere platform, contact homecapture@homesphere.com.
